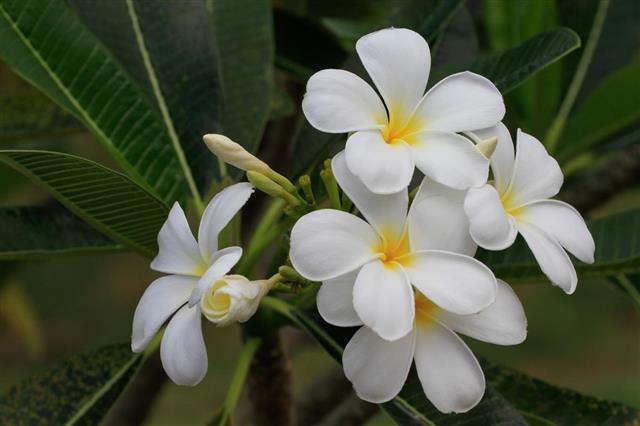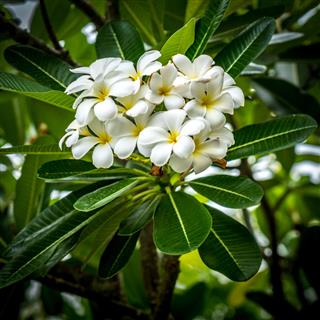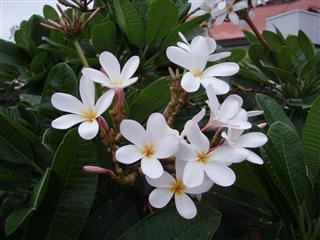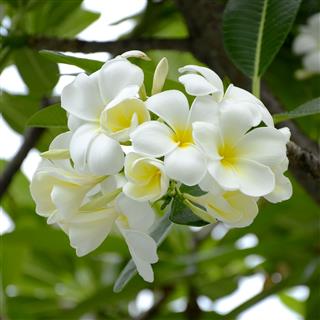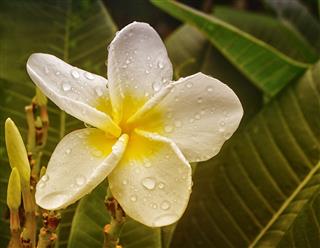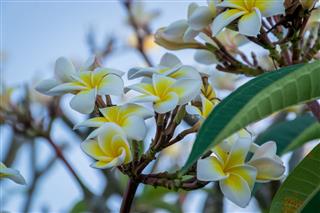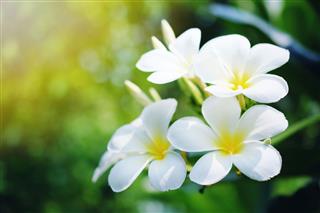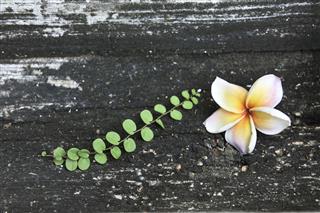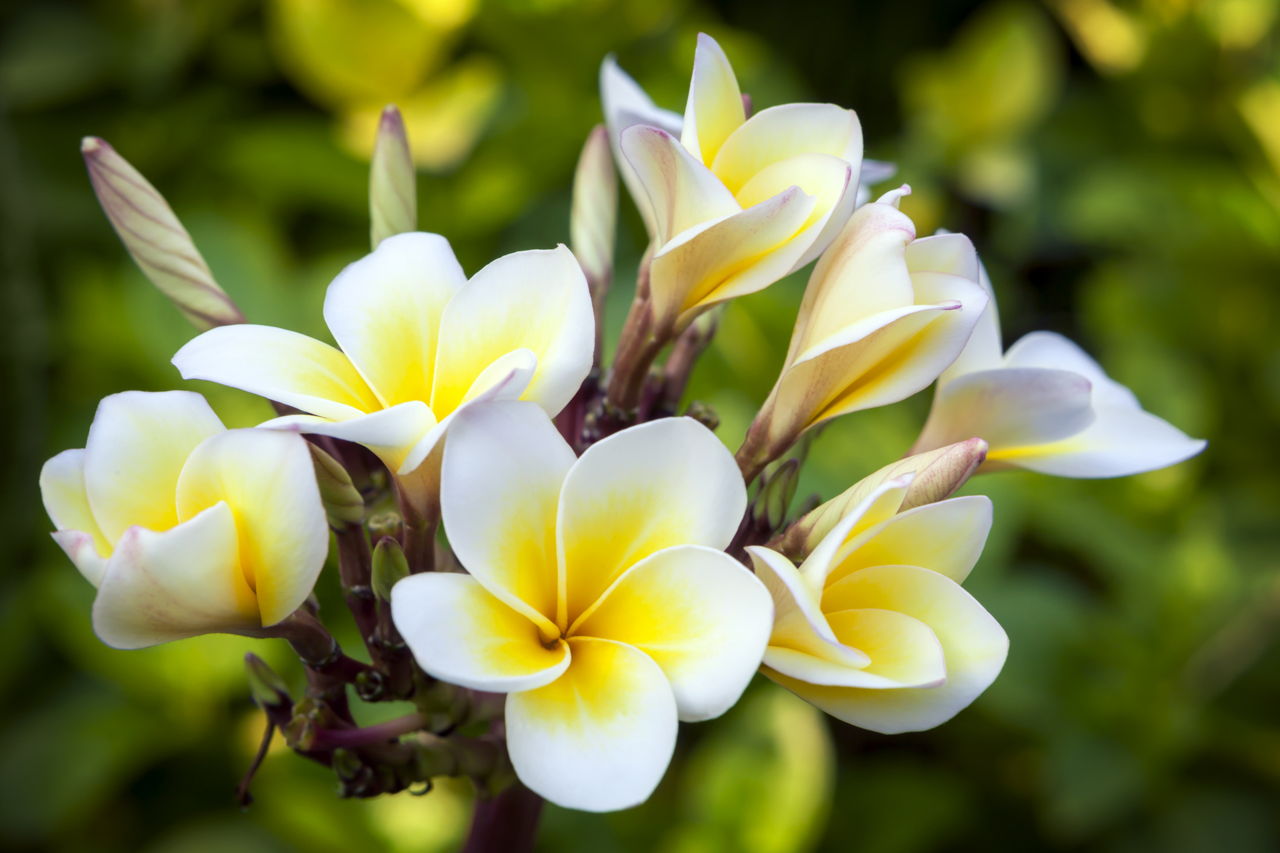
Plumeria is a beautiful shrub that sprouts yellow and pink flowers. If you are keen to grow a plumeria plant, knowledge on plumeria propagation and care, would help you sail through better.
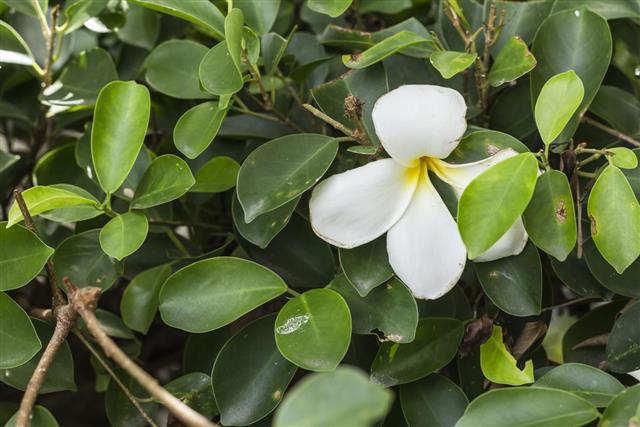
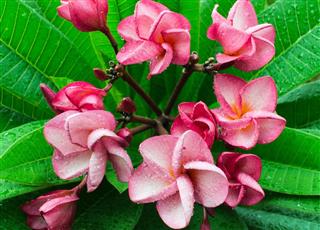
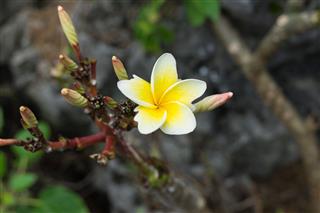
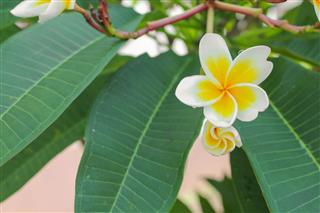
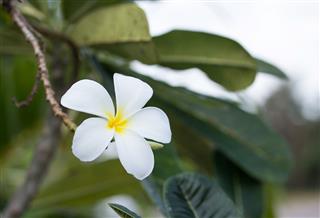
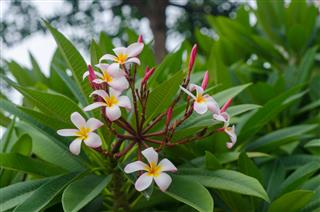
Plumeria plant, also known as frangipani or temple trees, is a tree that yields yellow and pink hued flowers. The plant is a native of tropical and sub-tropical America. It belongs to the genus Plumeria and carries forward the family tree of Apocynaceae. Plumeria is a deciduous plant that has stiff branches, however, they are succulent and secrete a thick milk like sap. The plant is long, leathery in texture, and consists of pointed and edgy foliage that are approximately 8 to10 inches long. The plant also bears flowers in yellow hues and pink shades. These flowers have a sweet fragrance and have an intoxicating demeanor to deliver. It is a plant that is suitable for all those who are looking out for an easy-to-grow plant. It also has no fuss about tolerating excessive sunlight if it is exposed to a condition where sunlight is borne in abundance.
Plumeria however, can bear excessive sunlight. It needs protection from winter and frost as its leaves tend to fall. If the plant is kept indoors, it could well be saved from the side effects of frost. It is important for us to understand how to propagate and care for the plumeria plant.
Propagating Plumeria
Propagation is one way in which you are able to strategically clone your plumeria plant. You could well have another plant that proves to be an exact match to your original plumeria plant. To propagate the plumeria plant, you are supposed to use a cutting that is strategically removed and planted, in order to have the plumeria grow its own roots in order to survive.
I use the term strategically, on purpose, as the propagation depends on the way you cut and from where you cut. These two factors, in the actual, decide the fate of the plumeria clone plant. There are essentially three steps that you need to take in order to make the plumeria propagation a success. The tool you need to kick-start the procedure is a sharp paring knife or extremely sharp pruning shears. There are three steps with which propagating plumeria could be done.
Step #1 – Look Out for the Right Piece
Ideally, your plumeria cutting should range between 12 and 18 inches long. Look out for signs such as, it should be a smaller branch sprouting out from the end of the larger branch. Remember that the larger the cutting is, the bigger and better would be the propagation. However, the plumeria plant could be a small propagation as well. The piece you choose to extricate should be a healthy green and must have mild flexibility. If you find it as per the standards, it is time that you cut and detach the piece from the plant for propagation.
Step #2 – Have Your Cutting
The place you chose to give the plant a chop becomes extremely important. Make sure that the piece you cut is detached from its parent branch. This is indeed the point where you have to cut the plant and take your cutting. Make the incision carefully, keeping the branch steady. You may use the paring knife or the large shears depending on the piece and the cut. If however you want a larger cutting, the branch may demand more strength, and thick large shears would have to be used.
The piece that you have chosen should be cut at a 45-degree angle without any jerky movements. The cutting should be as smooth as possible. You now have a brand-new, green plumeria cutting. After you have established your task, the piece should be devoid of leaves or any stems. The final look of the cutting should resemble a stick.
Step #3 – Leave the Piece on Its Own
After the cutting has been done successfully, you may leave the piece or the stick to dry for about 2 weeks. Another sign you could look out for is to mark the eruption of a callus at the bottom of your cutting. This activity encourages the stick to survive. There have been instances where planting the stick without following this step has worked in the plants favor. However, the success rate has not been extremely positive when the given step is skipped. Generally, after the piece has dried, it is marked as an obvious sign for it being suitable for propagation. You must ensure that you plant the stick in well-drained soil. The best soil to use would be a blend of cactus mix, topsoil and sand. This is an organic mix that is beneficial for plant growth. Avoid the use of any type of fertilizer until the first few, preferably until four leaves form on the cutting, as they are in need of nutrients. A common mistake that garden lovers commit when following the propagation step is to water the cutting in excess. The soil should be left dry. If the soil is moist, the cutting will rot and the chances to grow its own roots will plummet.
In terms of caring for the plumeria plant, it is safe to conclude that the plant is very adaptable and doesn’t require much care and maintenance. Ensure that the plant gets at least six complete hours of sunlight everyday, and enough water and fertilizers to thrive well. I hope this article has made you confident on the subject of propagating the plumeria plant.
