Deck railings adds a touch of elegance and style to house they are installed in. Deck railings are available in different materials like wood, glass and vinyl. Railings can be installed on patios, wooden decks, balconies and also on concrete. You can choose from a variety of designs and styles for the vinyl decking railing that you are planning to install.
Engineering and installing a deck railing made out of vinyl is quite an easy task and with a few basic skills, you can transform your boring patio or balcony into something else after building a deck railing as per your style.
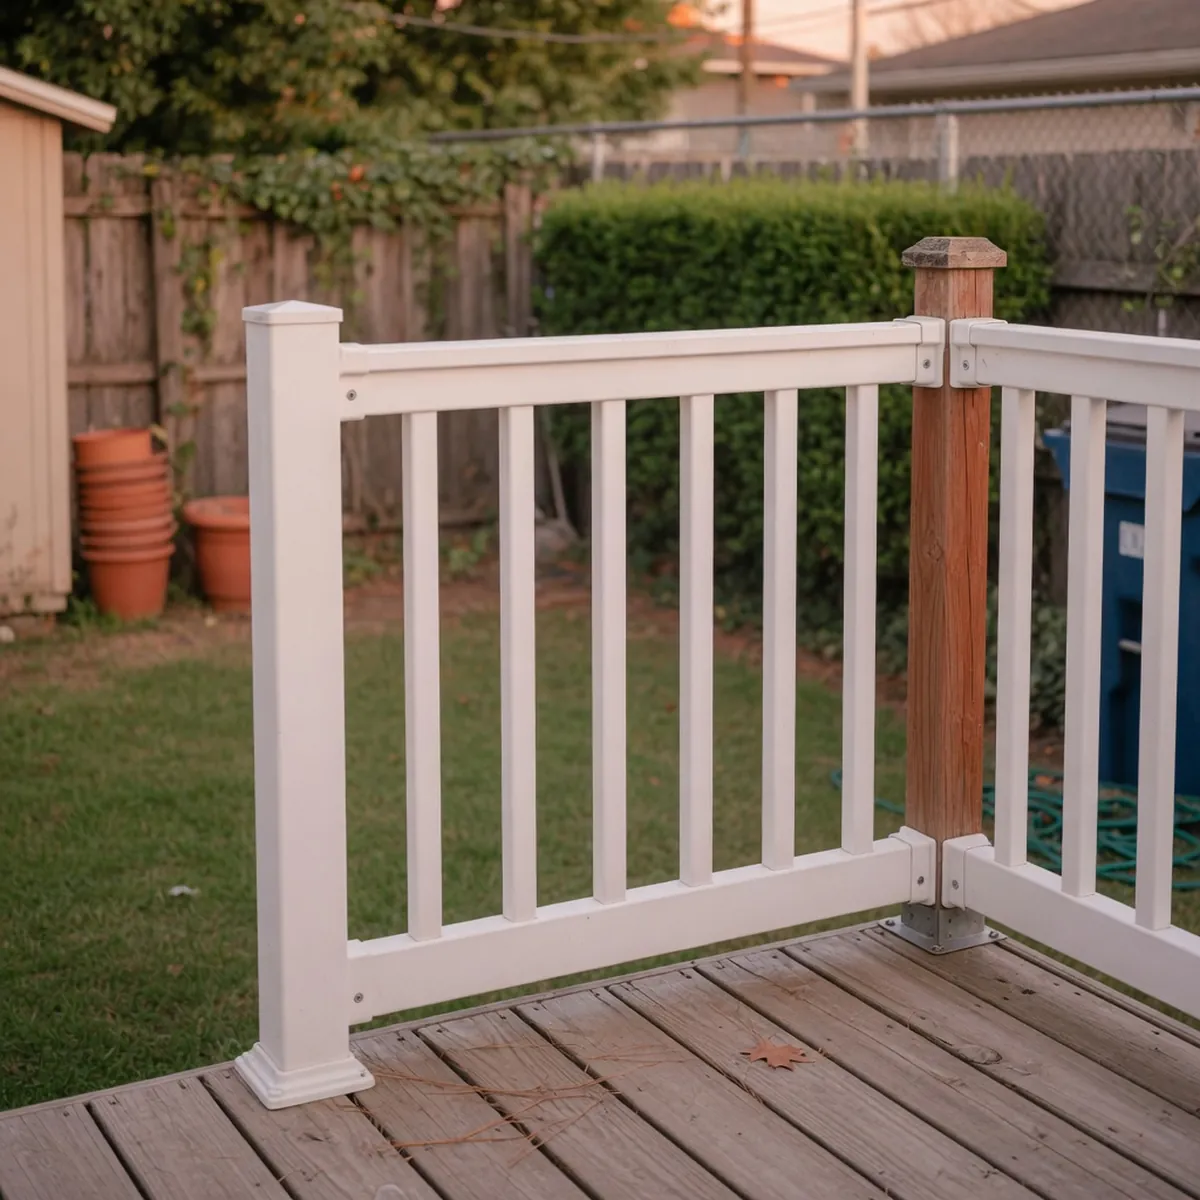
Vinyl Deck Railing Installation Guidelines
Make your house a unique one in the entire neighborhood by building a vinyl deck railing. Choose from a wide range of deck railing ideas and implement it accordingly to beautify the way your house looks and set it apart from the crowd.
Things You Will Require
Vinyl decking Contact cement Cement flooring leveler Tape measure Hacksaw or miter saw Utility knife Sandpaper Spatula Hammer Mounting brackets Heat gun Bucket Roller
Installing Procedure
► Follow the guidelines of your locality regarding the installation of deck railings. Plan the height and style according to the rules laid down by the township. The traditional height of the railing for patios and lower levels is about 36 inches and for balconies it can rise up to 42 inches.
After you have checked the building codes and norms with the local authority, you can go ahead with the project of constructing vinyl decking.
► Purchase the materials required for the vinyl deck railing from a reputed hardware or home store, so that you do not compromise on the quality of the vinyl decking.
Measure the deck where you are planning to install the vinyl railing. Plan the layout and width of the railing beforehand, so that you don't have strangely shaped sections, which may spoil the look of the decking. Lay a blueprint of the plan so that you can refer to it while building the deck railing.
► Take the tape measure and calculate the length and width of the patio or balcony. If you have old railings dismantle them to make place for the new one.
Mark the measurements and cut the vinyl into rails accordingly. Lay the rails in a place where you can access them easily to save you the trip of running around every time you need to install a new rail on the holding.
► Install the mounting brackets on the railings keeping equal spaces between them. Prepare the cement flooring leveler and apply it on the deck, to smoothen the surface.
Fasten the rails with the help of screws to the railing so that they stay in place. Mount the bottom railing in the cement and allow it to set for about eight to ten hours. Apply contact cement on the rails and apply the cut vinyl sheets to them.
► After you have finished with the bottom railing, it is time to concentrate on the top railing so that the deck is complete.
Rout holes into the top rail to insert the pickets. Level the brackets and secure them with the help of screws. Weld the seams using a heat gun and flatten the ends with a roller. This will provide a waterproof seal to the railing. Use screw caps to cover the screw holes on both sides of the railing.
So you see there are many advantages of installing a vinyl deck railing for your house and it is also an easy task. You can improve the aesthetic appeal of your home and surrounding property with vinyl decking. Hope you found this guide on how to install vinyl deck railing to be an informative one. All the best!