A great way to expand the gardenia cover in your garden is to plant gardenias. You don’t need to buy seeds, nor a sapling. Simply use cuttings from already present plants for propagation. Learn how, in this article.
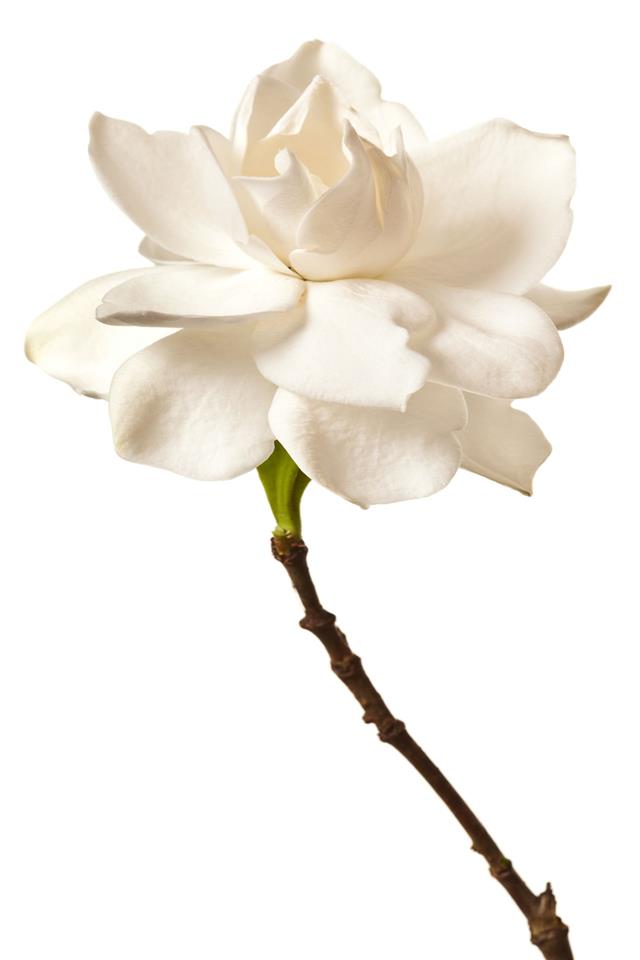
Gardenias can be termed as the perfect flowers. They have a sweet and lilting fragrance that can spread and hypnotize anyone. Their gentle and pristine white color gives them a sense of purity and serenity. The blossoms on a backdrop of a deep green foliage can make any onlooker sigh inwardly at the simple, yet striking beauty of the plant. Whether you’re growing gardenias indoors or outdoors, you need to take good care of it. And once you have one of these pretty bushes, you’re sure to get addicted and want to have more of them adorning your garden. Before you run out to your nursery to get yourself a new batch of seeds, read this Gardenerdy article which will tell you about how you can grow gardenia using cuttings too. You’ll not only save yourself a trip, but also learn something new.
Using Cuttings to Grow Gardenia
For all those who didn’t know this, yes, gardenias can be propagated even through their cuttings. It is an easy process too. But it just might take a little more time than just planting seeds and having a sapling sprout out.
Let’s see the instructions for it.
- First off, you need to pick the plant from which you plan to get the cutting for the new plant. Choose a plant that is healthy.
- Now, from this plant, choose the branch that you will use. An ideal gardenia plant will grow from a cutting that is about the length of a new pencil (say about 6 inches long) and has a couple of sets of leaves on it. While many believe that it should not have leaves, experts suggest that the leaves help in maintaining it for planting.
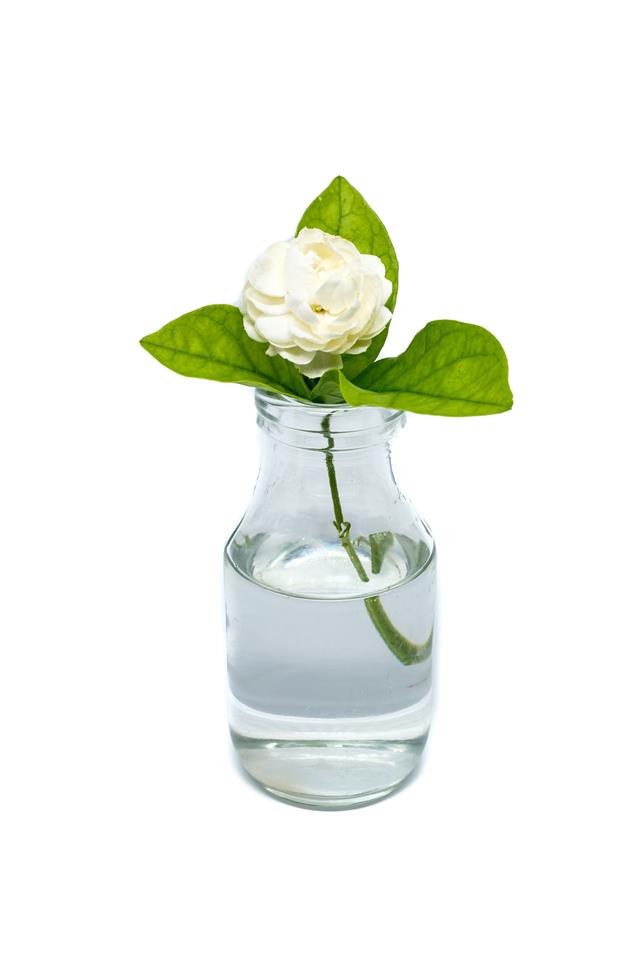
- The cutting requires a lot of moisture in order to be ready for planting. So, while you ready the soil for planting it, you may want to keep the cutting moist. For this, place it in a container of water. Remember, moist does not mean that it needs to get all soggy.
- The next step is to make the planting soil ready. For this, pick the pot and fill it with a rooting mix which consists of equal quantities of peat and sand/perlite/any other organic potting mix. Make sure this mix is moist when you fill the pot with it. Fill the pot about 6 to 7 inches with the mix.
- Now, take a thin stick or a pencil and make a hole, about 2 to 3 inches in the mix in the pot. Take out the cutting that you have placed in the container and dust it with a rooting hormone powder. Make sure you tap out the extra powder and gently place it in the hole that you just made in the rooting mix.
- Once you’ve done that, you can fill up the hole. Now, it will take some time (approximately 6 to 8 weeks) to develop roots and grow into a plant. You can, however, help this process by ensuring that you have planted receives adequate and appropriate conditions to sustain itself.
- One of these conditions is enough moisture and humidity to grow. So, once you’ve planted the cutting, you can put the entire pot with the plant in a plastic bag and tie it up. This will help maintain the temperature and humidity level in the pot.
- Open this bag about 3 to 4 times a week to let the plant get its required amount of air. Soon, you’ll see little leaves appearing. This is when you can remove the plastic bag and let the plant grow on.
Water the little plant regularly, but see that the soil gets drained. That’s all! Your gardenia plant is on its way to becoming a perfect addition to your garden! Enjoy it but remember to take good care of it too!

