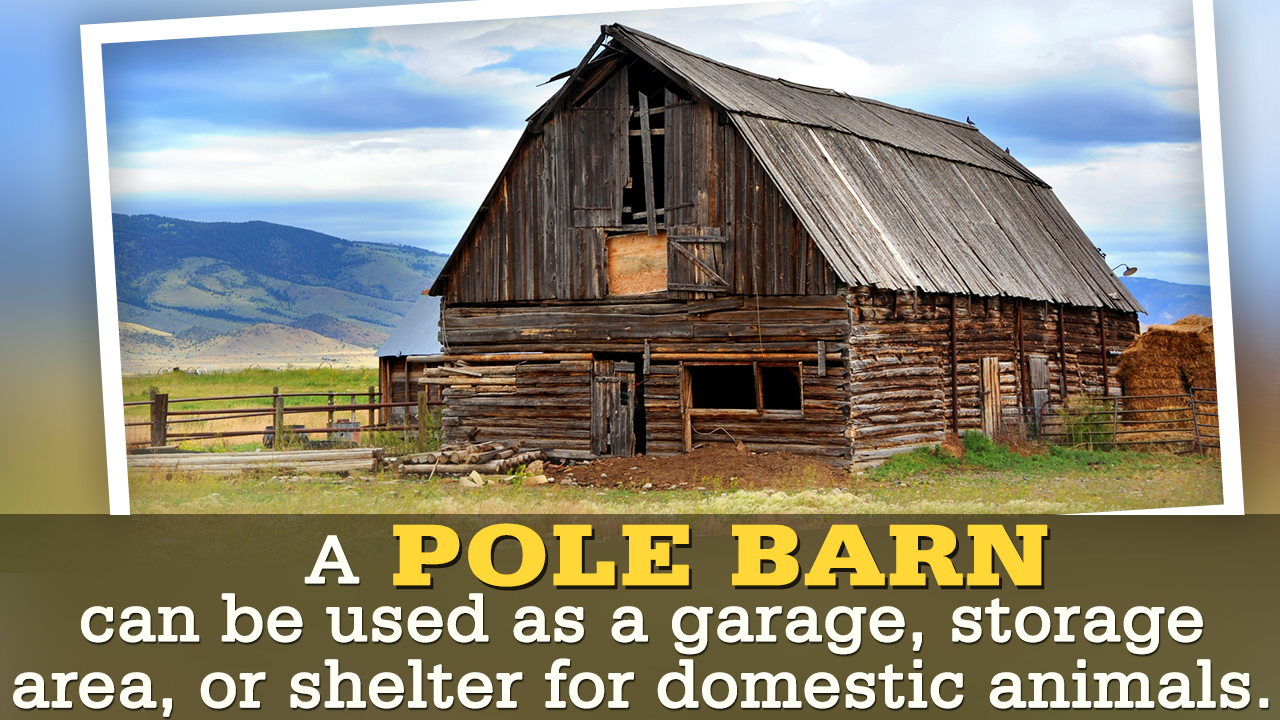
You can see pole barns in the farms and agriculture areas, and it is quite possible to build your own version. Read this article gain more information about building a pole barn.
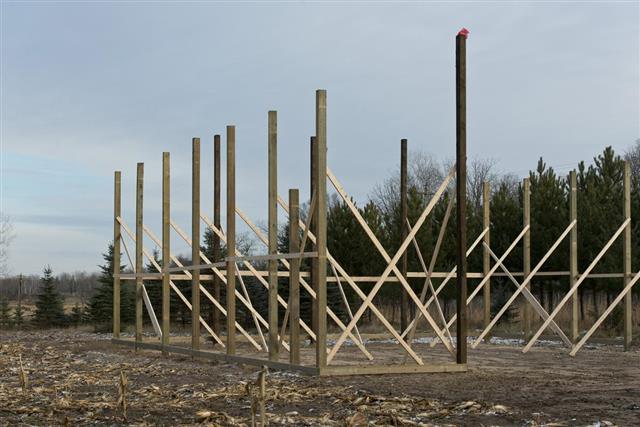
Pole barns are the simple structures used for various purposes like shelter for domestic animals, garage, storage area, or to cover a picnic area. The architecture of pole barn includes poles that are fixed in the ground and support the roof. Pole barn does not require any foundation, and floors and walls are optional.
Building a Pole Barn
Firstly, you need to take the permission of the municipality/building inspector to get the permit of the barn. This is to ensure that you are building it for storage and agricultural purposes, and not for human habitat. You may require to produce the blue print/plan of the architecture of your barn design, and hence, keep it ready while seeking the permit. You may also ask for some guidelines regarding the correct procedure from the building inspector, after you get the permit.
You will need the following equipment
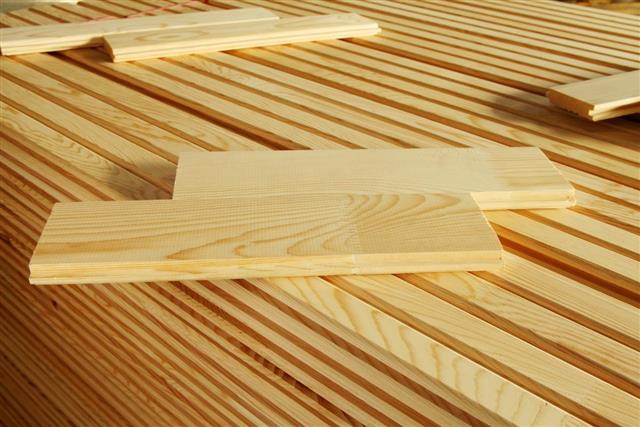
- Lumber
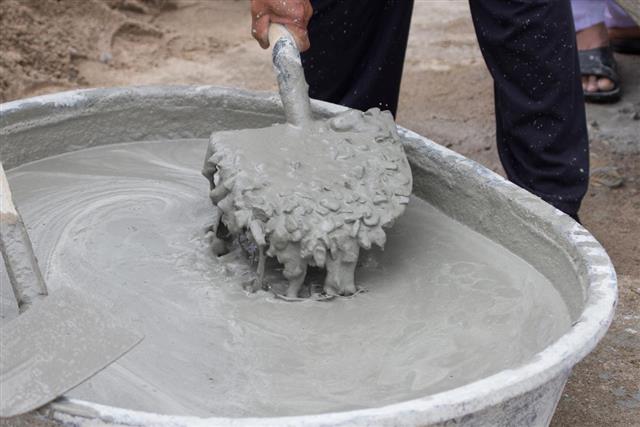
- Concrete and gravels
- Poles (Round, utility, and square posts)
- Hammers
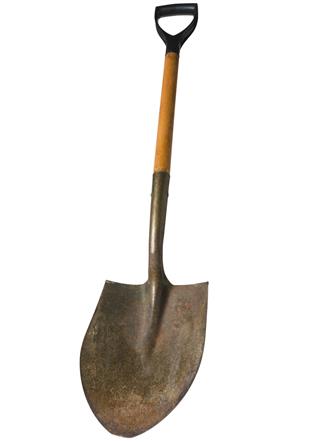
- Digging equipment
- Saw
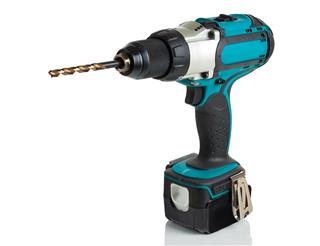
- Drilling machine
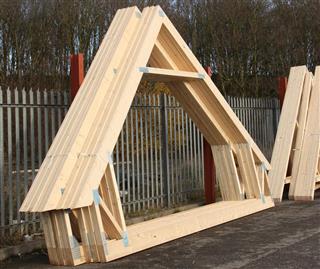
- Roof trusses
- Nails (Roofing and straight)
- Purlins
Step #1
Choosing the site for your barn is the most important step. The area should be such that it is equally leveled, and water will drain out easily. Arrange for all the equipment required to build the barn. The length of the poles should be minimum 8 feet. The number of poles will vary with the area of the barn.
Step #2
For insertion of the pole sin then ground surface, dig some holes. These pits should be 18 inches deep. Maintain a distance of 2-10 inches between the holes. If the soil is moist, dig the holes deeper. See that the pits are square shaped at perfect right angles.
Step #3
After digging the holes, pour the concrete mixture in them, and one by one erect the poles. Utility types are the best choice for building a pole barn. Add gravel up to 6 inches for water drainage. Cover the pits completely by gravel fillings. See that all the poles are evenly placed, and let the concrete be dry for several days.
Step #4
The next step is the most difficult one – installing the first truss. You will need the help of two or more people for this task. Fix the stringers on the pole tops, and check their levels. The first truss should be supported with poles, ropes, and braces. Install the remaining trusses.
Step #5
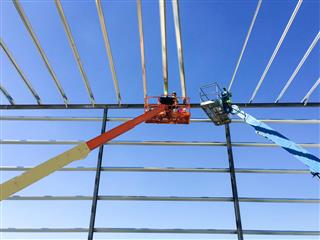
This step consists [of installing the purlins, which are 2 – 4 inches of lumber pieces that are placed on the outer edges of stringers to support the truss weights.
Step #6
After building a framework for the roof truss, it’s time to install the roof of your barn. Fix in the tin roofs without leaving any gaps between two tin sheets, with the help of screw-in roofing pins.
Step #7
Your pole barn is almost ready, and building walls and the floor is your choice. You can use plywood for setting up the walls.
Building a pole barn is an easy procedure that requires few skills and tools. Pole barn kits are also available that will make your job easier. Go through the instructions properly before beginning with the procedure.
