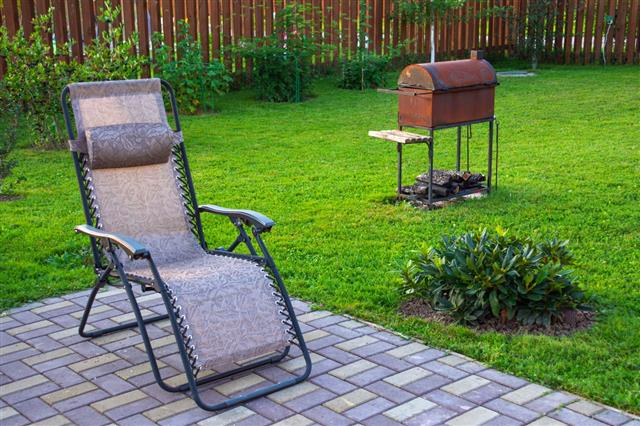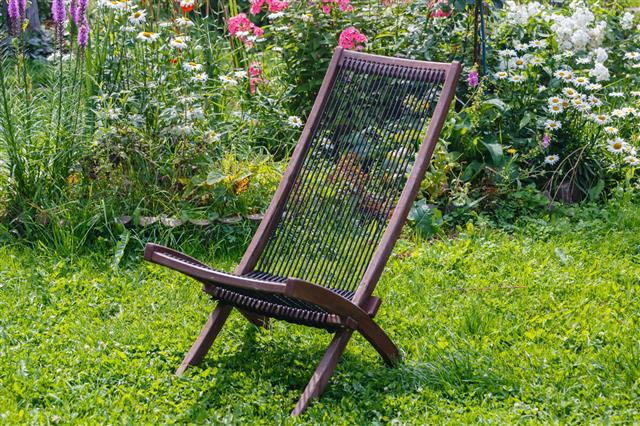
Lawn chairs are used to laze around in garden or on decks. You can just slump into a lawn chair and relax. However, these chairs are not without flaw and need regular maintenance in order to keep a check on the chair’s webbing, which are susceptible to tearing/fraying.
The very thought of lawn chairs makes you visualize a nice, adequately sunny day, and you idling around in your property. These chairs are fantastic patio furniture for relaxing, especially if you want to take a proper nap in your patio. But what will happen if you realize one day that your lawn chair webbing (the material which is stretched on to the frame of the chair over the thin metal rods) is in a state of disarray? Here are a few tips and tricks to repair it.
Repairing Lawn Chair Webbing
Lawn chairs do not give a lot of trouble except for their webbing, which can give away due to persistent and prolonged usage. The durability of the webbing also depends on quality of the material. If the chair has been a victim of prolonged use, it is possible to repair it at home. All you need is a bit of persistence and the interest to repair the webbing.
Step 1: A broken piece of webbing does not render the chair useless. In such cases, you can purchase a new vinyl or nylon webbing, matching your chair.
Step 2: The next step involves the removal of the broken strap. Usually, the straps are affixed by a plastic insert or a screw and nut. So you need to take them off for removing the broken strap.
Step 3: Cut a piece of the new webbing to match the old one you removed. It should be long enough depending on the requisite measurements, so that it has a margin for being folded. Then stretch the webbing across the base of the chair tightly. If you want it to be more secure, add around 3½ inches for folding the end in a triangle.
Step 4: Follow step 3 by matching the end fold. Most chairs fold end over end or fold in a triangular shape. When they fold in a triangular shape, it involves a ‘V’, by folding the sides in. Look at the pattern of the chair and imitate it. Punch holes in thick areas, followed by the replacement of screws or plastic push pins.
Step 5: If you want to replace and repair the webbing simultaneously, then replace the entire webbing, but keep the original design as a reference point.
Those who just want to replace their webbing, need not rack their brains about the repair process. So here are some quick tips to replace the webbing on lawn chairs. This is of course, is in context with a horizontal nylon webbing.
Begin with rewinding the screws and metal clips which secure the webbing. If there are only 2 or 3 straps broken, you can consider keeping the others intact and replace just the damaged ones. If that’s not the case and there are many frayed straps leading to a droopy chair, then, you will have to replace the webbing completely. Follow this up with measurements for the straps in relation to their slots and holes. Take separate measurements for the back and the seat of the chair. If you are going to attach horizontal straps with screws, consider 2 inches extra to the original measurement and cut the roll in strips of the same length. For those who might use clips, measure an extra 1½ inches.
Chairs with screws need to be folded down the corners at an end of the strap to form a point. From the tip of the point measure 12 mm and make a hole using an awl or screw. Then, in this way, chair webbing repair becomes easier. Screw in one of the straps, while pulling it around tightly and then fitting in the other end. Similarly, if you are going to use clips, let there be a 3 or 4 inch of strap around the clip, which you can insert it in the slot.
For vertical webbing, use the same method, only weave the vertical straps in and out of the horizontal ones. Check if the vertical straps run behind the bar, and the pivot between the back and the seat. Ultimately, lawn chair webbing can prove to be an important part of lawn care in totality.


