Caution!!!
Before you begin, make sure you obtain a building permit; that's if you require one to construct an agricultural building in your area of jurisdiction.
A pole barn or pole building is a structure, most often rectangular in shape, wherein the roof is erected over a series of poles. The roof can either be gabled, i.e., supported by a gable with slopes on either sides of the ridge, or hooped, i.e., fastened with the help of a hoop. Pole barns are most often used to shelter livestock and their fodder. Additionally, they can also be used as a storehouse, or even a garage for that matter.
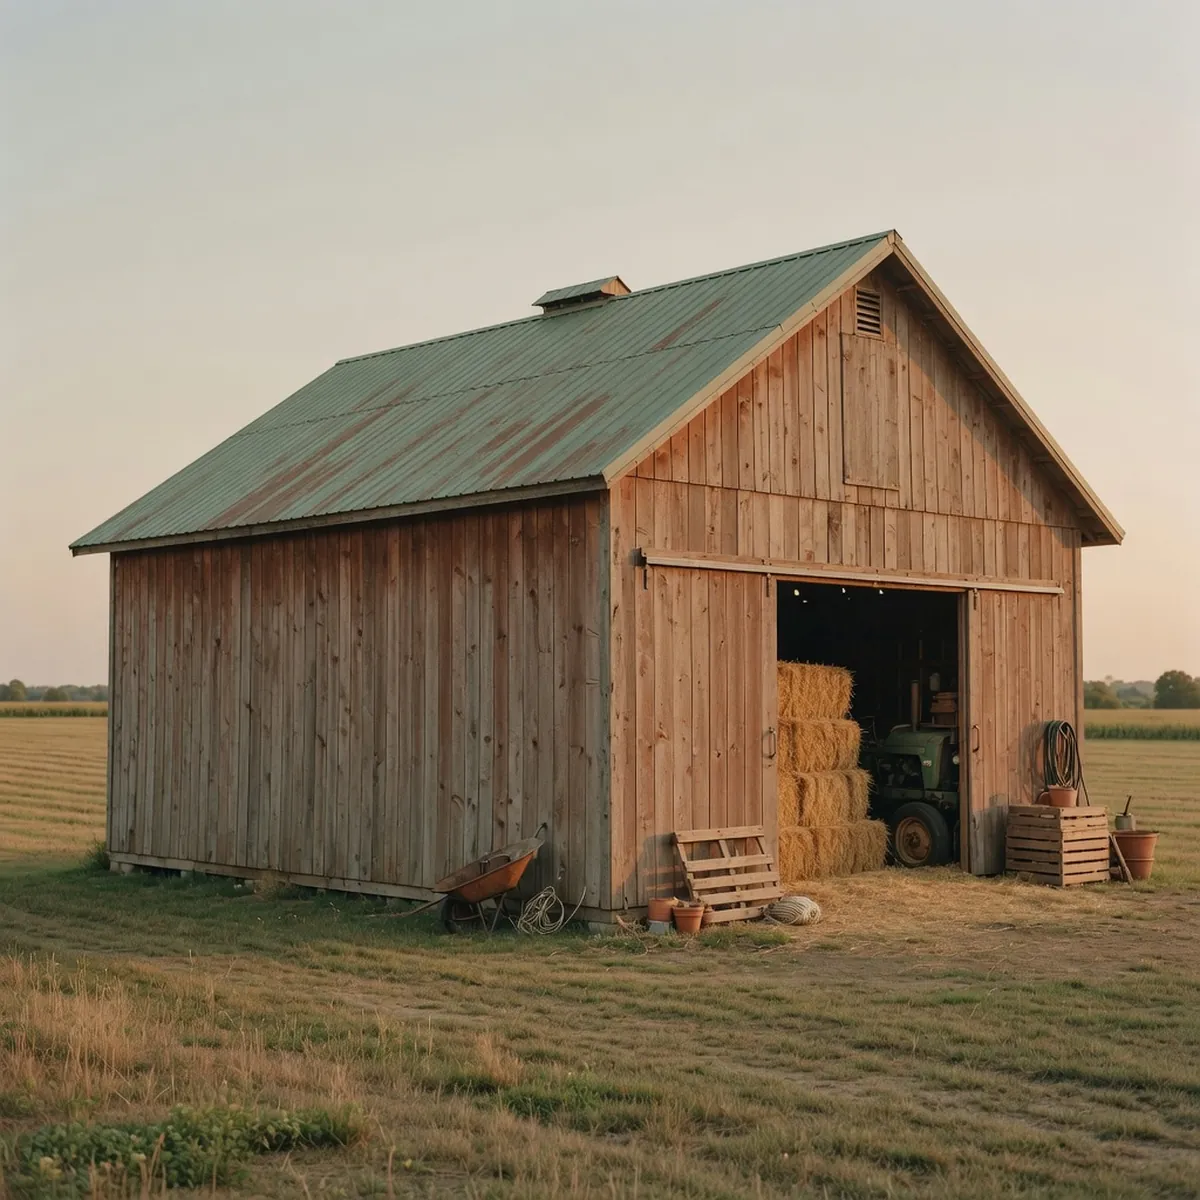
It is relatively easy to build a pole barn owing to its simple design. The poles support the outer wall of the barn, while some light metal or canvas is used to build the roof. Its design can be modified to suit its purpose. For instance, a barn used to shelter cattle or horses can have low exterior walls to prevent these animals from moving out. In contrast, a barn meant to store hay may not require such walls. The low cost incurred on its construction and the large shelter area that it provides also add to its popularity.

How to Build a Pole Barn From Scratch
The foremost thing to take into consideration when building a pole barn, or any other structure for that matter, is to find an ideal location. In this case, an ideal location would be a piece of land with firm soil, which doesn't retain water. Before you begin the construction work, acquire the necessary permit from authorities. Make sure that you tell them that the structure is for agricultural use; not for human habitation. Also ensure that you have the building codes at your disposal.
Mark the area wherein you plan to build the barn and level it if required. You might need a tiller to do the same. You also have the option of building the barn first and then using compact soil to make the floor. Once you have leveled the ground, you will have to measure and mark the places where you will erect the corner poles. You will have to ensure that all the corners of the structure meet at 90° and all the poles are erected in a straight line.
You can use a digging bar to dig holes to erect the heavy posts, but we would recommend using an auger, as it will make your task simpler. The number of poles you will need to erect will depend on the length of the structure. Ideally, two poles should be 8 - 12 ft apart. So, if the length of the structure is 40 ft, you will have to erect 4 poles; roughly about 10 ft apart from each other.
The holes you dig to erect these posts should be 4 - 5 feet deep. More importantly, you need to erect the posts on concrete footings to ensure that they bear the weight of the entire structure. You can use a mixture of concrete to strengthen the posts into the ground and add approximately 6 inches of gravel fill to facilitate water drainage. Don't forget to support the posts in an upright position until they get secured.
While erecting the posts make sure that all of them are erected evenly. You can either go the conventional way, wherein you erect the posts temporarily, measure and mark them, then remove them and cut them to required length, before erecting them all over again, or you can simply erect them and then cut them to the required length. You will require a water level to measure the height of these posts. If you want to make a walled pole barn, you can use plywood to make the walls.
Once you are done with the posts, you can start working on the roof of your pole barn. In this case, you will have to start with the beams. You will have to place the beams horizontally on these posts to form a base for the trusses. There are two methods that you can resort to. First, simply place the beams on the top of the posts and secure them using metal plates. Second, create 10-inch notches at the top of the posts and set the beams into them.
The next step will be to attach the ready-made trusses, which is where you will require some help. It won't be easy to take these trusses to the top where they have to be anchored to the beams. Many people make the mistake of attaching the trusses to the beams using nails, which is not a wise thing to do. Instead, use metal plates to anchor them. Ideally, you should attach the gable trusses first and move to the subsequent trusses.
Once you are done with the trusses, you will have to start out on the roofing. To begin with, you will have to attach the purlins to the roof trusses to form a base for the roofing material. Once the purlins are in place, you can use roofing nails to secure the roofing material to them, overlapping one piece with another. You will have to caulk the overlapping parts to make the structure weather-proof and install a tin ridge cap at the top where both sides of the roof meet.
Now that your pole barn is ready, you can add the necessary modifications depending on the purpose for which you require the pole barn. For instance, if you intend to use it to shelter livestock, you will have to keep the entrance significantly larger than that used for keeping agricultural equipment inside. Not to forget, you will also have to make sure that there are no issues with the ventilation.
Pole barns are quite popular in the vast agricultural lands in the United States. It is not difficult to build one when you are armed with the basic knowledge of the construction process. A pole barn can be very useful for providing shelter to livestock or storing hay, fodder, agricultural equipment, farm vehicles, etc.